| . |
. |
 Install Time: About 2 hours (not including drying time
for paint) Install Time: About 2 hours (not including drying time
for paint)
I had David O’Brien of O’Brien Auto Performance do the install for me and I was able to watch
and fetch parts. I found several advantages to having David do the work. First, it was snowing
and about 30 degrees outside. Second, O’Brien’s has a lift (BIG ADVANTAGE) and all the correct
tools. The job was not difficult and with a little patience most people can do it in their
driveway if they have access to a welder.
Before beginning this project, I would recommend running a tap through the threaded
holes in the guards and mounting tabs to clean up the threads. You should also clean out the
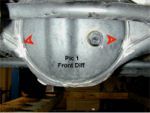
two threaded holes on the underside of the front differential, these are most likely already
full of crud from offroading. The instructions included with the QT guards were somewhat
generic but helpful.
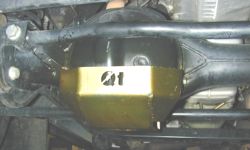
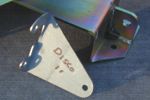
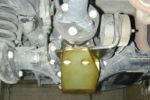
The most difficult part of installing the front guard was tacking the tabs to the front
of the differential while the guard was bolted up. Other than that all that had to be done was
grind down the welds so the guard fits and give it a good coat of paint.
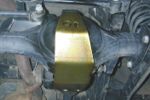
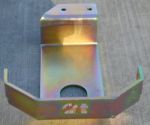
The rear guard is a straight bolt-on procedure using the existing bolts on the
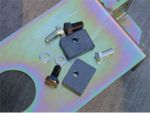
differential and vibration damper. There is one additional bolt (supplied with the kit) that is
used to attach the top of the guard to the adapter bracket. We found it worked best to loosely
bolt everything up except for the two bolts at the top of the differential. Then use a pry bar
to line up the bracket and have someone start those two bolts.
I have not had a chance to test them off the road yet but they appear to be very sturdy
and well made. Most diff guards I looked at only seemed to protect the front of the
differential but the QT‘s offer a little extra protection.
Rear Diff Install - straight bolt-on
|
. |
. |


 |
. |
. |
 Discovery Series II
 Tools:
 Welder (Mig)
 Metric wrenchs
 Grinder (air or electric)
 Metric Taps
 Spray Paint / Undercoating
 01503 240 770
sales@qtservices.co.uk
 502-8-ROVERS
BOATBUGGY@aol.com
 (918) 742-3055
obrienauto@okoffroad.com
